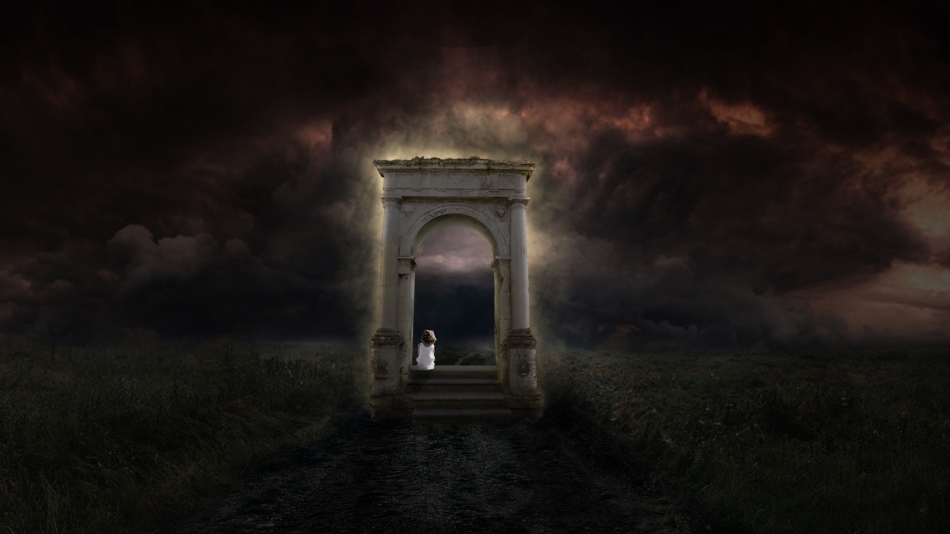
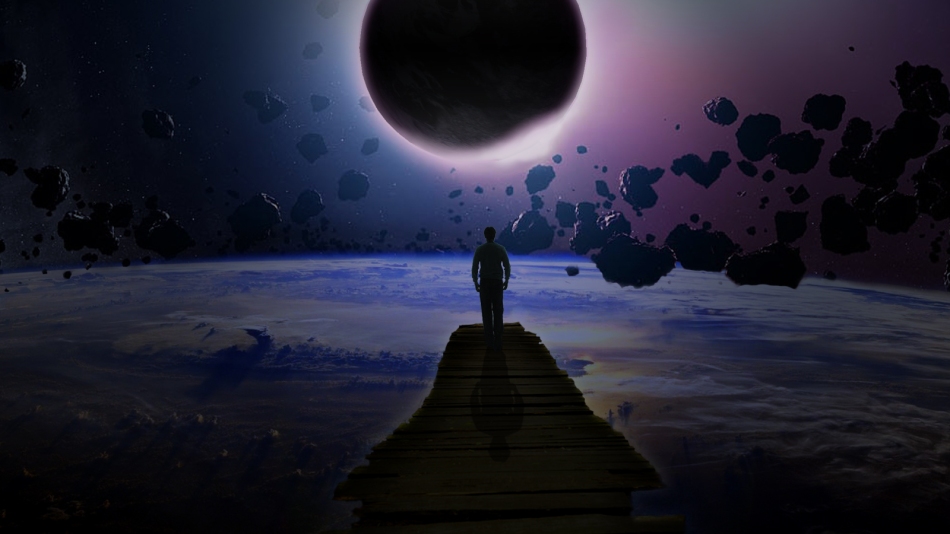
This is a quick walk-through of how I came up with the concept of “Bridge to the World”. In the future, I’ll be doing speedart videos of most of my work because it is really fascinating seeing a piece transition from a blank canvas to something you really feel accomplished doing. So, if you have any questions about the steps I took, please do not hesitate to post here or contact me.
Step One – Adding Background Image, Levels, Gradient, and Hue/Saturation
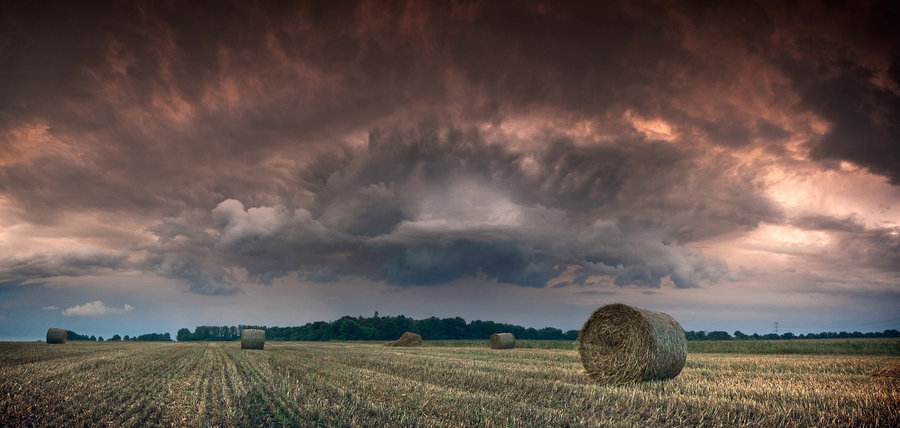
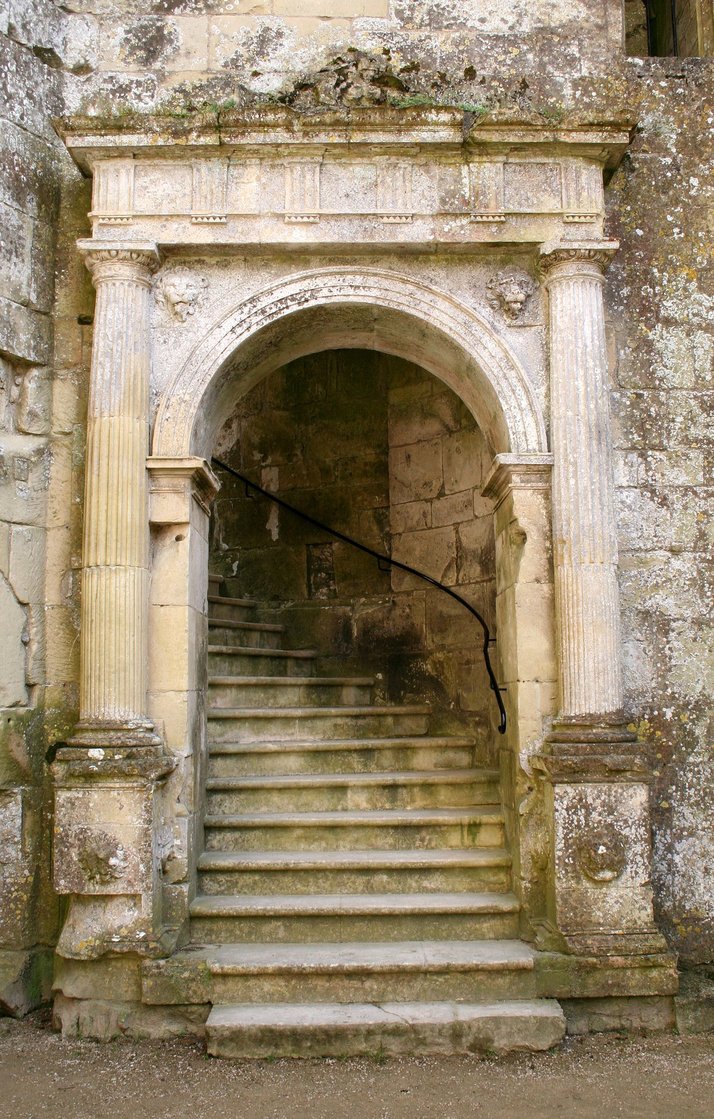
 My first step was to find and image I can work with to make it surreal. This is the first layer of the project and will be the backbone throughout the project.
The next step was to adjust the Levels and Hue/Saturation. With the levels lowered the mid-tones, darkened the shadows and brightness. For the Hue/Saturation, I only adjusted the lightness and dropped it to -23.

The last step for the background image was to add a new layer and add a gradient overlay to the image. I used orange to blue and set the gradient to a radial gradient.
Step Two – Adding Bridge, Layer Mask, and Adjustment Layers
I love doing this part of the step in all of my photo manipulations. You feel that the work really starts to shine and you know anything can be done in Photoshop. With this part of the manipulation, I added the bridge and added a layer mask to mask out the parts of the image around the bridge.  Next, I added various effects to adjust how the bridge should look as if it were floating in space above the earth. This included adjusting the levels and hue/saturation.
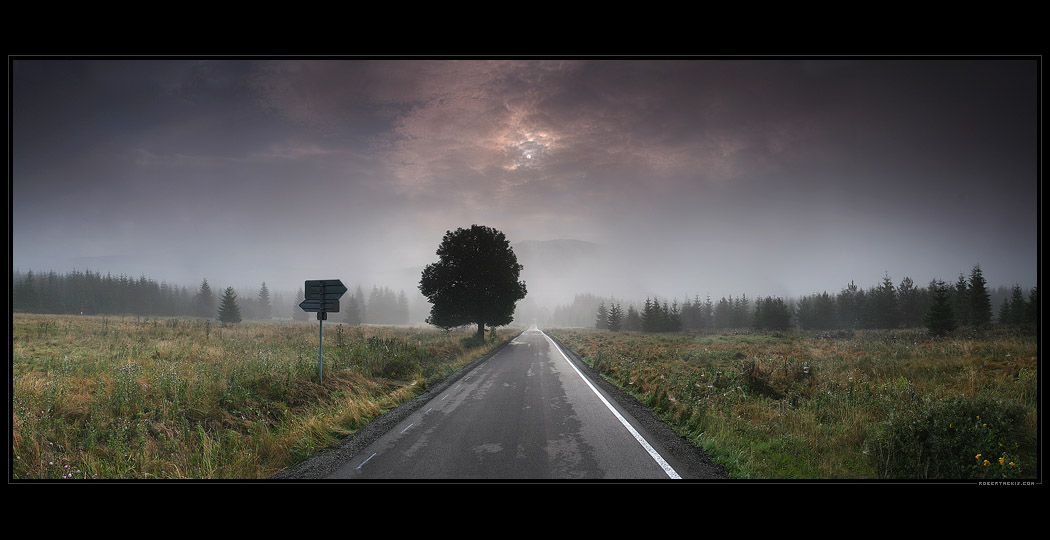
Step Three – Adding Asteroid Field and Adjustment Layers
At first, I was going to use this as my background image until I found the other image, I really didn’t know how I wanted to piece together all the images. So, I took a break and walked away. I find that if I feel that I’m at a dead end during my process, I walk away and let my mind free-think. Sure enough, a spark went off and I rush back to the computer and added this image and masked the area below to bring out the earth. If you look closely, I left in portions on top of the earth to give it a 3D appearance and not be a lazy masking – it turned out beautifully. 
Step Four – Adding 3D Image to Replace Current Sphere
I decided I didn’t like the current sphere that was in the image so I made my own. I took a texture from another image and wrapped opened it up in the 3D work-space and adjusted the lighting so the light source was coming from behind and not from a direction that didn’t coordinate with the current image. In addition, I added layer effects, glow detail on another layer, and a gradient surrounding the 3D image.


 Step Five – Adding Person and His Shadow
This is probably the easiest process of the manipulation. I added a photo of a guy that was walking in the background of one of my photos. He was wearing a nasty green shirt and I had to get rid of that. I added the picture and removed the surrounding areas, and added a satin layer style. For the shadow, I duplicated the image, dropped the lightness all the way down, flipped the image vertical, then changed the image to soft light so it would blend with the bridge instead of being a black shadow with no detail.

Last Step – Adding Smart Object Thumbnail and Lighting Effect
The last step is what I like to do to most of my pieces that have a definitive light-source. First, I added a Smart Object Thumbnail which takes a snapshot of your image and all its layers and convert it to a smart object so I can go in later and adjust the lighting effect. I decided I would go with a spot lighting effect and center the source on the moon and expand out the paths so it is a light source that grows out because the source is being forced around the moon.

If you have any questions regarding how I did certain steps, you can always email me malcixgaming@gmail.com, follow me on Facebook or Google Plus. I also live stream some of the work I do in Adobe Photoshop.